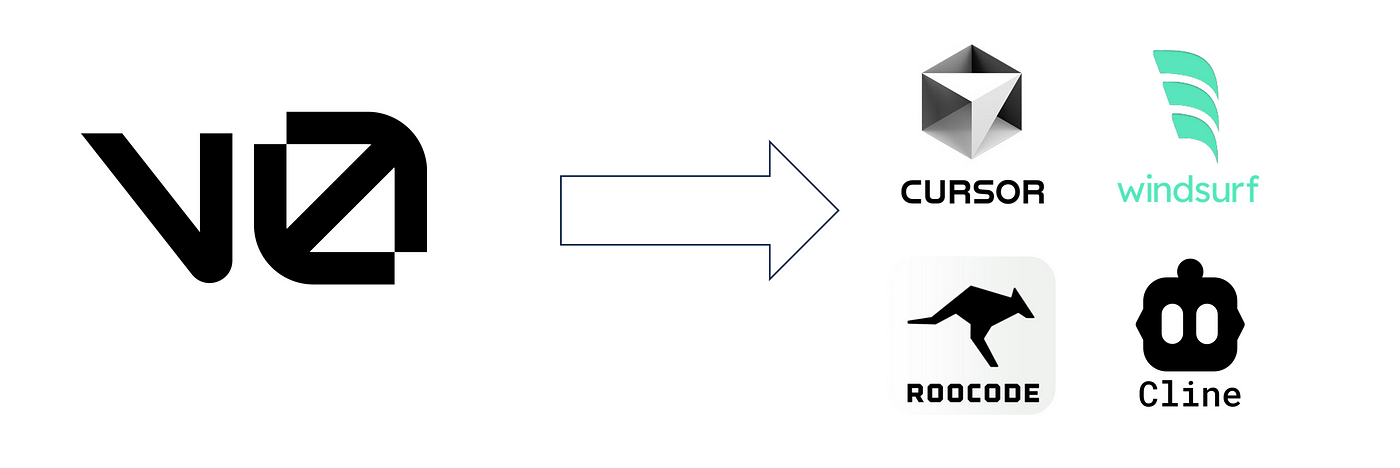
Migrating Away From v0 | Switching to Cursor/Windsurf
Ditch v0 fees — export code & spin up Next.js 15 locally with Cursor/Windsurf, Bun & Node 22. Cut costs, gain speed, full control.
Migrating Away From v0 | Switching to Cursor/Windsurf
Since v0 shifted from a subscription model to usage-based pricing, the user experience has notably deteriorated. Recently, I attempted to fix a simple issue using v0’s lg model, which not only consumed my entire evening but also cost me $20 — an astonishing expense.

Usage Events
After checking Reddit, I found many users shared similar frustrations. However, many didn’t know how to move their projects from v0 to a local development environment, switching to alternatives like Cursor or Windsurf. Therefore, this guide will walk you through migrating your projects from v0 to your local environment.
I. Download the Code
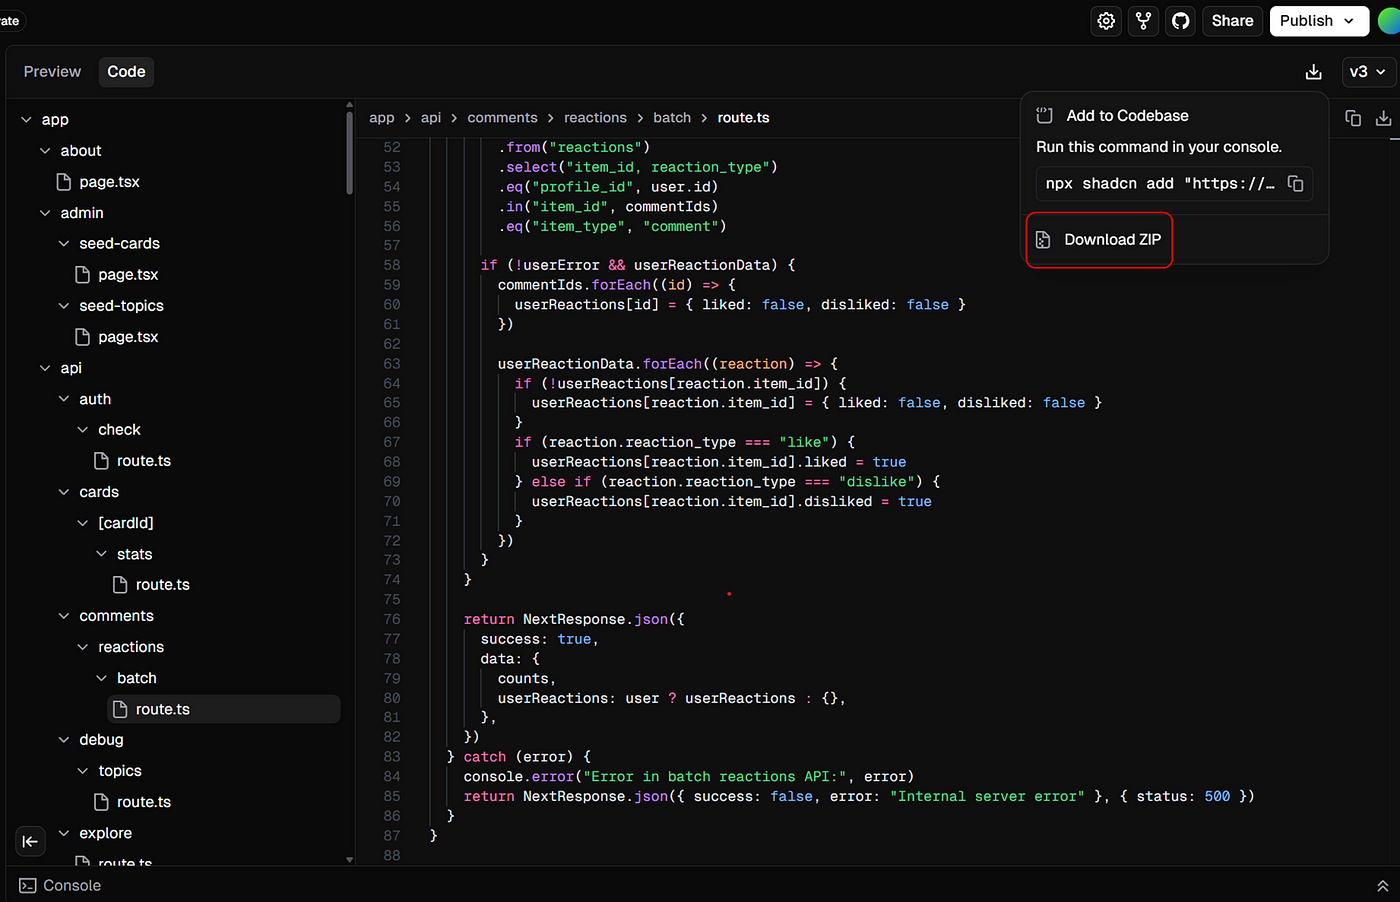
From your v0 dashboard, export the project. You will get a .zip file; unzip it and you have your full codebase ready to go.
II. Set Up the Required Environment
Based on my recent experiences, typical projects developed on v0 use the following versions:
- bun: v1.2.13
- Next.js: 15.2.4
- React: 19.1.0
- Node.js: 22.x
This guide demonstrates installation primarily on Linux, but Windows procedures are very similar — just pay attention to environment versions.
1. Install bun
v0 manages dependencies using Bun, so let’s install Bun v1.2.13 first:
1
2
# Quick install
curl -fsSL https://bun.sh/install | bash -s "1.2.13"
If this conflicts with conda (bash might unexpectedly terminate), download and install manually:
1
2
wget https://github.com/oven-sh/bun/releases/download/bun-v1.2.13/bun-linux-x64.zip
bash bun_install.sh 1.2.13
Verify installation:
1
2
source ~/.bashrc
bun --version
2. Install Node.js
I prefer managing Node.js versions with nvm , but you can also download directly from the official site. Install nvm first (if not already installed):
1
2
3
curl -o- https://raw.githubusercontent.com/nvm-sh/nvm/v0.39.7/install.sh | bash
export NVM_DIR="$HOME/.nvm"
source "$NVM_DIR/nvm.sh"
Then install Node.js 22 and make it the default:
1
2
3
nvm install 22
nvm use 22
nvm alias default 22
3. Install Project Dependencies
With bun and Node.js ready, move into your project’s directory and install the dependencies:
1
2
cd my-project
bun install
4. Verify environment variables
The exported .zip usually includes the .env.local you set in v0. If it’s missing, create it manually before continuing.
III. Launching Your Project
When using Bun, you have two main methods to run your project: launching in development mode and building for production. Typically, during development, you’ll use development mode as it supports hot reload, allowing you to instantly see changes as you make them.
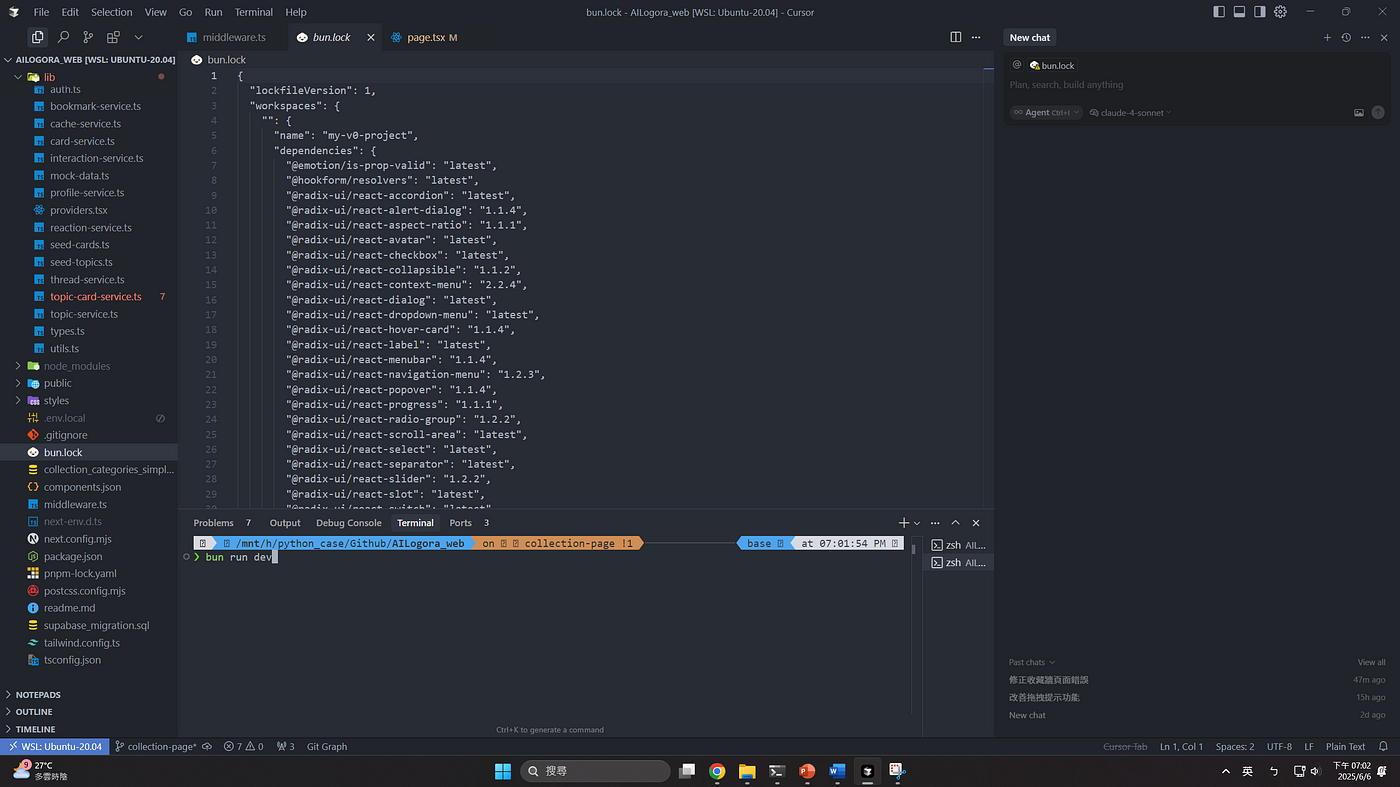
Here’s a detailed walkthrough using Cursor, which is my preferred IDE:
1. Launching in Development Mode
First, open the folder you downloaded and unzipped using Cursor. Then, open the terminal within Cursor and enter:
1
bun run dev
You should see a message similar to:
1
Local: http://localhost:3000
Simply open your browser and navigate to this URL to view your site.
If you encounter the following error after running bun run dev :
1
2
3
# $ next dev
# bash: line 1: next: command not found
# error: script "dev" exited with code 127
This usually means your Bun installation path isn’t recognized by your shell. Verify whether Next.js is correctly installed by running:
1
2
ls node_modules/next/dist/bin/next
# node_modules/next/dist/bin/next
If the file path appears, it means the Next.js executable is present. In such cases, you can manually run Next.js directly without relying on Bun scripts, especially if you prefer not dealing with PATH configuration:
1
bun node_modules/next/dist/bin/next dev
2. Building for Production
If you wish to exactly replicate Vercel’s build process locally, run:
1
bun run build
Afterward, launch your production server:
1
bun run start
IV. Troubleshooting Common Issues
When developing with v0, it’s common to inadvertently mix syntax from Next.js versions 13, 14, and 15 if you haven’t explicitly specified version 15. The most frequent issues after migrating to local involve handling cookies and params . From my experience, directly using Claude 3.7 or 4.0 in Cursor to fix these issues is not always smooth. Instead, you can quickly solve these issues by pasting solutions directly into your AI prompt:
cookies: Refer to Github Issuesparams: Refer to Stackoverflow
If you encounter problems while running bun run dev , directly ask Cursor for assistance. Alternatively, if you still have credits available in v0, you could publish your project there temporarily, allowing v0 to fix the bugs automatically, which typically works well for straightforward issues.
V. Conclusion
Once you’ve moved your project to local development, you gain access to a wide range of powerful AI tools. Currently, I’m using Cursor combined with Shadcn prompts, and the development experience is significantly smoother and faster compared to using v0 — also notably more cost-effective. Additionally, there’s an open-source project called dyad on GitHub, offering experiences similar to Lovable, v0, and Bolt. I recommend trying it out if you’re interested.
